You don't need to be an artist to make pictures for a children's book. With tracing, basic shapes, and free software, you can create warm, lovely illustrations that match your story. This guide walks through each step, from planning pages to adding color and texture.
How Do You Plan a Children's Book When You Can't Draw?
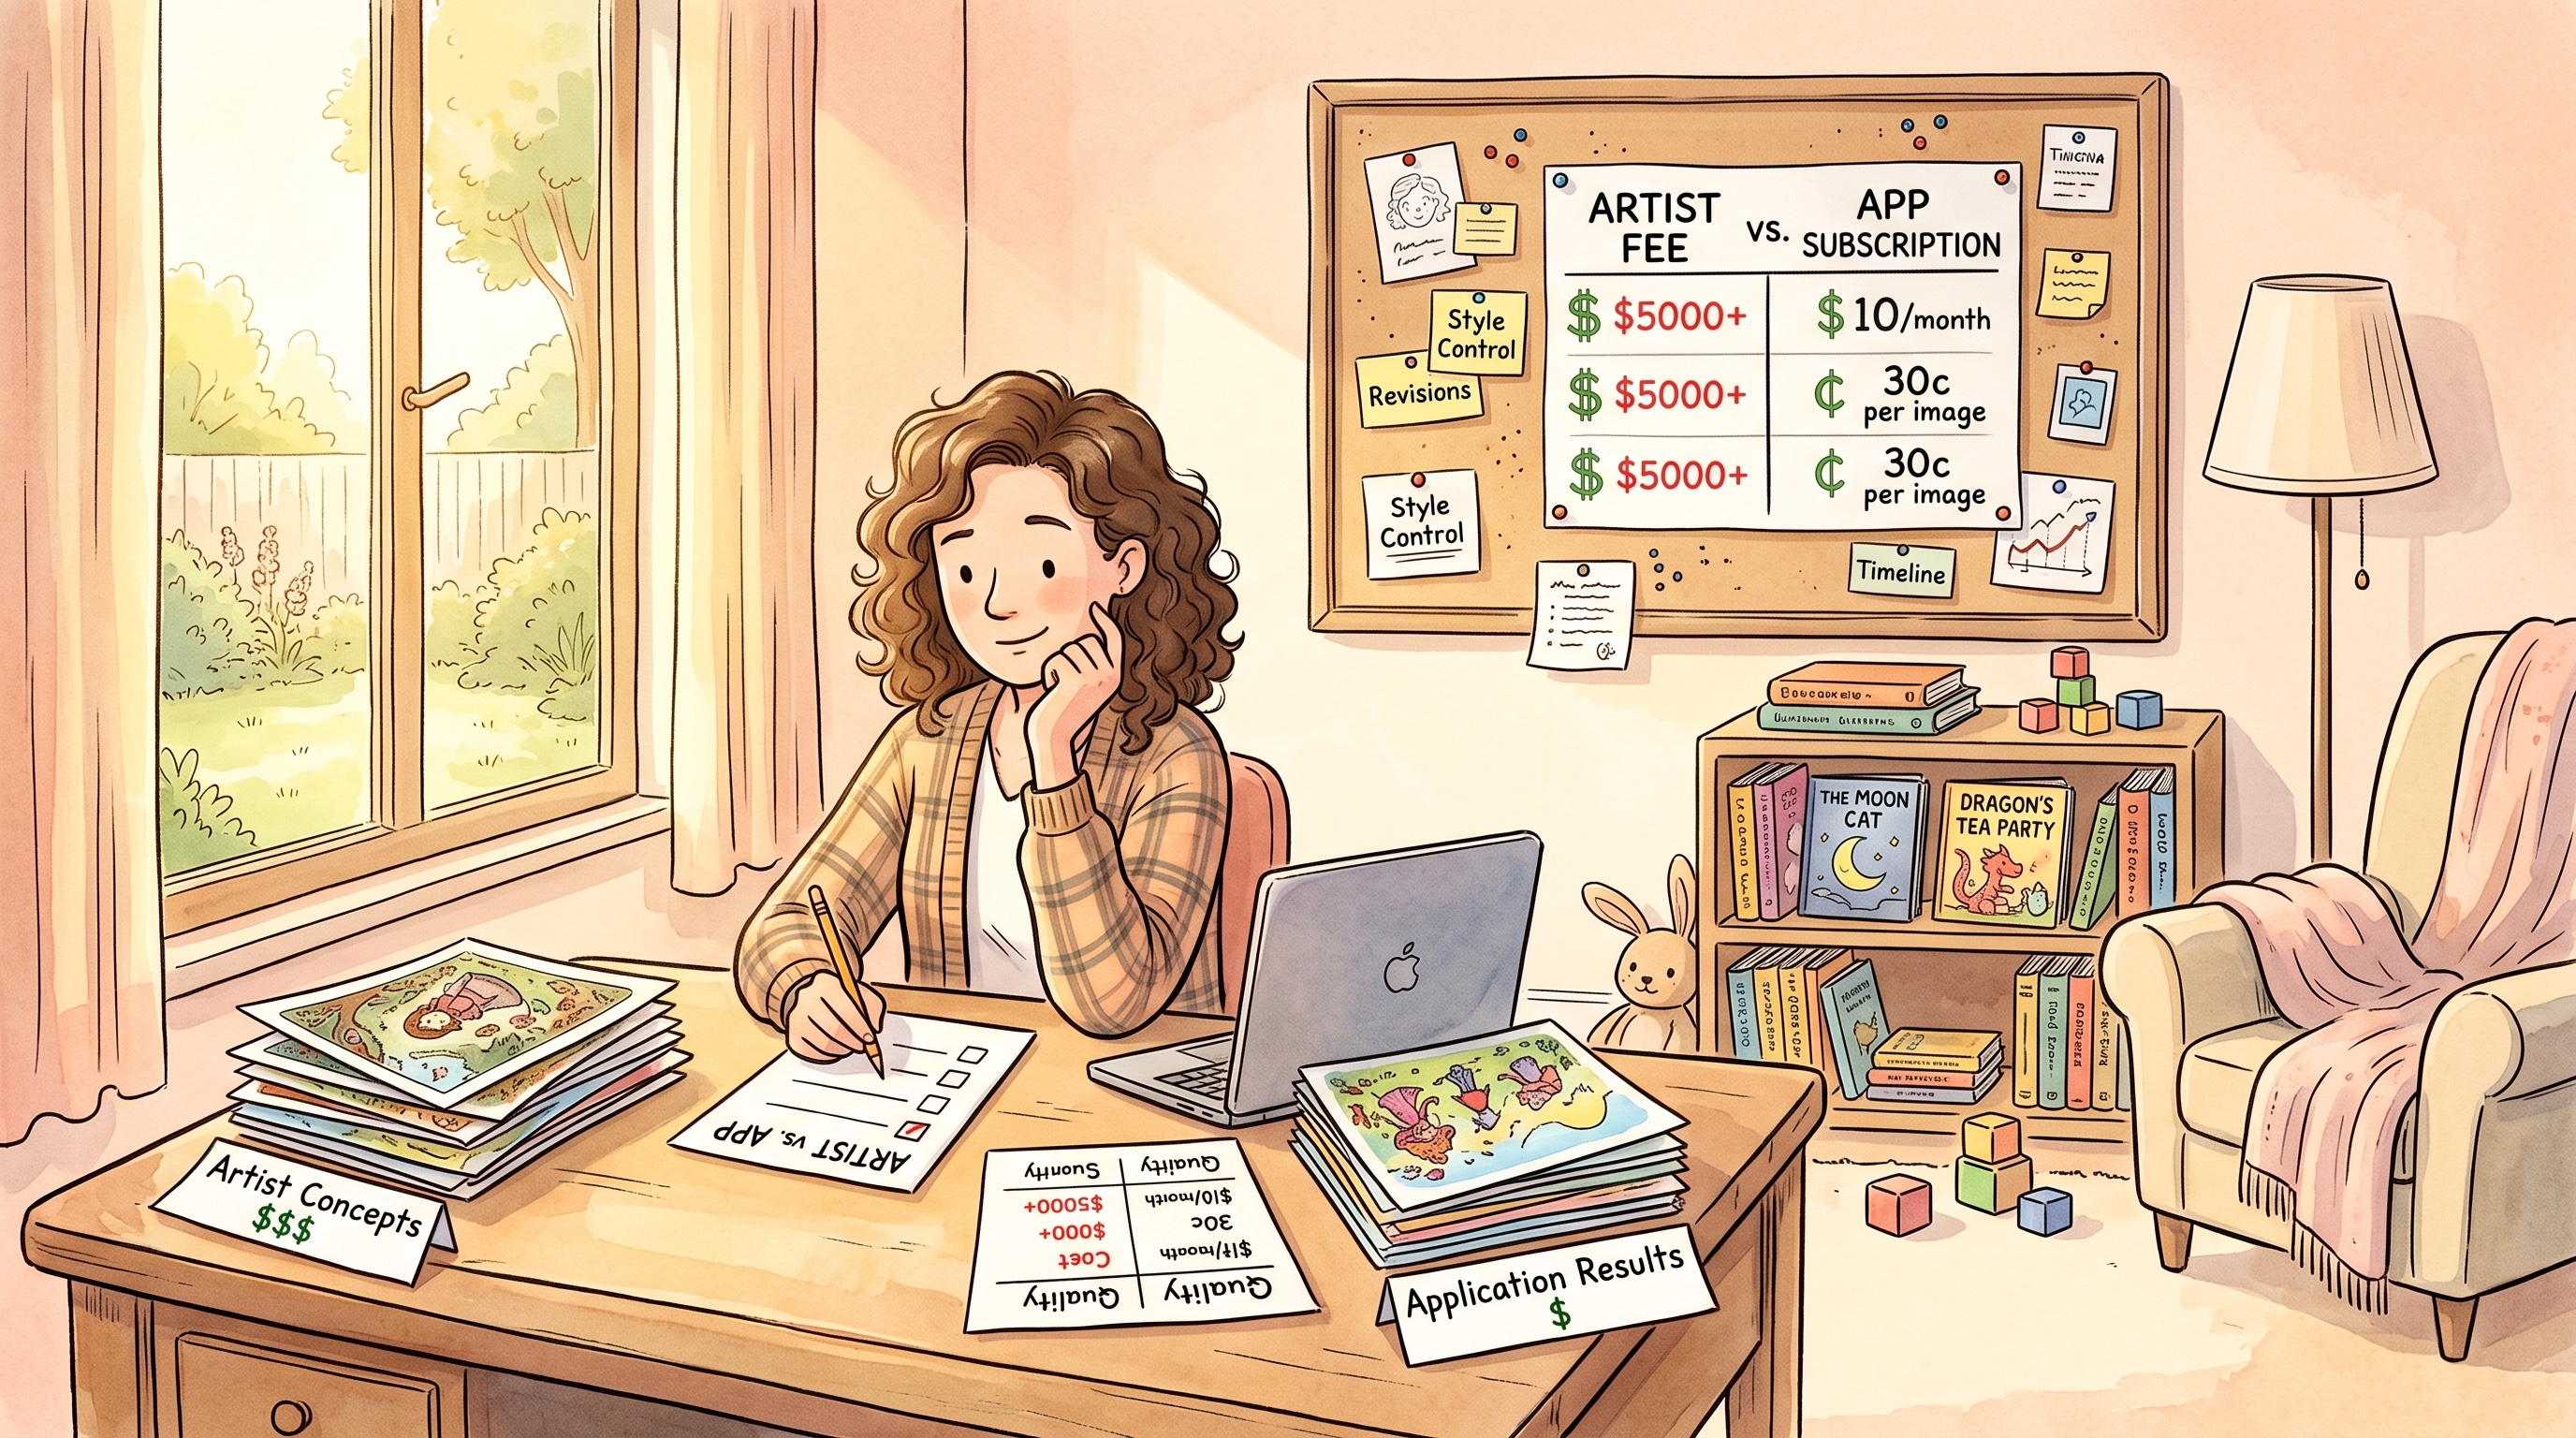
Start with a storyboard instead of a blank page. Draw tiny boxes for each page and sketch where the text and image will go, using stick figures and simple shapes. The goal is to see the flow of the story, not to make pretty art. Use sticky notes or index cards so you can move scenes around easily. If a page feels crowded, swap it with another card. Keep the sketches loose. You are mapping out the book, and that map will guide every illustration you make later. A storyboard is just a row of small rectangles, one for each page. Inside each box, draw a rough version of what the reader will see. A circle for a head, a line for a body, a square for a house. Write a few words under each box to remind you of the text. This planning step saves you from drawing the same character differently on every page. It also shows you where the text will sit, so you can leave blank space for it. When you use sticky notes, you can rearrange the order of scenes without redrawing anything. That freedom makes it easier to experiment with pacing.
Can You Trace Photos to Illustrate a Children's Book?
Yes, tracing is a perfectly good way to build illustrations, and many illustrators use it as a starting point. Print a photo that matches the scene you want, place tracing paper over it, and copy the main outlines. A lightbox makes this easier, but a sunny window works just as well. Focus on getting the big shapes right, the curve of a back, the angle of a hat, the position of a hand. You can simplify details later, so don't worry about capturing every line. Once you have the outline, you can transfer it to your final paper or scan it into a drawing program. Tracing gives you a solid foundation, and your own style will come through in the colors and small changes you make.
How Do You Draw Characters with Basic Shapes?
Start with a circle for the head and a line for the body. Add simple clothing by drawing a triangle for a dress or a rectangle for pants. Squares and triangles work for houses, trees, and other objects. The trick is to keep every shape simple and let the reader's imagination fill in the rest. Exaggerate expressions to show emotion. Big eyes, a wide smile, or a furrowed brow can carry a whole scene. You can also use size and placement to show feelings, a small character in a big room feels lonely, a character drawn close to the edge feels trapped. Practice a few basic shapes on scrap paper, and you will quickly find a style that feels like yours.
What Free Digital Tools Can Help Non-Illustrators?
Krita and Medibang Paint are both free programs that work well for cleaning up hand-drawn art. Scan your paper sketches, open them in the program, and use the eraser and fill tools to tidy the lines. The bucket tool can fill large areas with color in one click, and soft brushes let you add gentle shading without needing advanced skills. Layers are your friend. Keep the sketch on one layer and add color on another, so you can erase mistakes without ruining the drawing. If you want to keep the handmade look, you can skip digital coloring entirely and just scan the finished page. The goal is to find a workflow that feels comfortable, not to master a complex program.
How Can Collage and Craft Materials Add Texture?
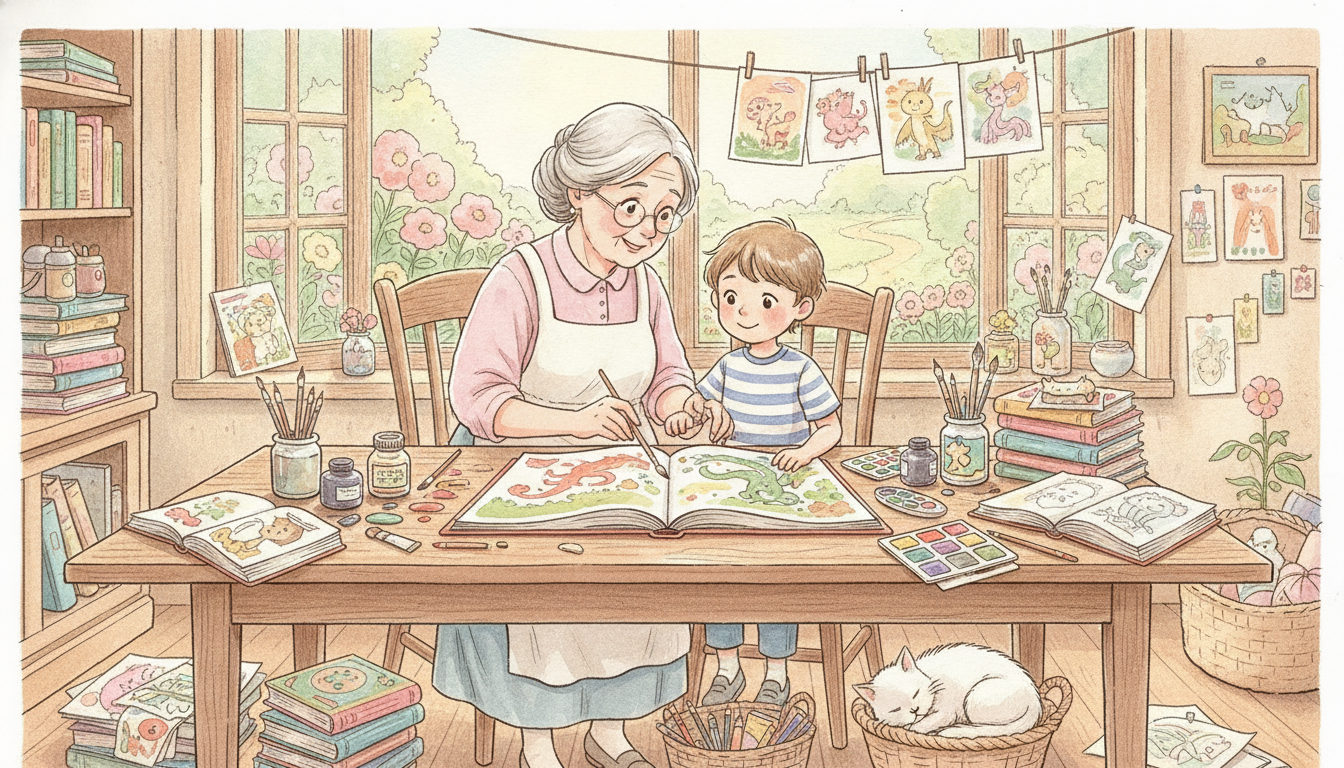
Collage is a wonderful way to add texture without drawing a single line. Cut out pictures from magazines, colored paper, or fabric and glue them onto your drawing to fill backgrounds or create clothing. You can also use tissue paper for skies, buttons for eyes, or yarn for hair. Once the glue dries, scan the page and the texture will carry into the final book. Let your kids help with the collage. They can tear paper, choose colors, and arrange pieces, which makes the book feel like a family project. The slightly imperfect edges of cut paper give illustrations a warmth that digital art often lacks.
Putting Your Picture Book Together
Once your pages are scanned and colored, you need to arrange them in the right order and add the text. A simple word processor can work, but a dedicated storybook maker makes it easier to keep the character consistent across every page. Tools like Fablekit let you upload your illustrations, place text, and preview the book as a finished product. You can also print the pages and bind them by hand, which is a lovely option for a one-of-a-kind gift. The important thing is to finish. A book with simple, heartfelt pictures will mean more to a child than a polished one that never gets made.
Frequently Asked Questions
Can I really illustrate a children's book if I can't draw?
Yes. You can trace photos, build characters from basic shapes, and use free digital tools to clean up your work. The goal is to make pictures that support the story, not to create gallery art.
What is the easiest way to plan a children's book layout?
Make a storyboard with small boxes for each page. Use sticky notes or index cards so you can move scenes around until the flow feels right.
Are there free apps for illustrating a children's book?
Krita and Medibang Paint are free programs with brushes, layers, and fill tools. You can scan your paper sketches and add color digitally without any advanced skills.
How do I keep the main character looking the same on every page?
Create a simple character sheet with a few basic shapes and expressions. Refer to it while you draw each page, and trace or copy the same outline when you need consistency.