Most children's book authors do not think about layout until they are staring at a blank page with a manuscript in one hand and a blinking cursor in the other. The instinct is to open an image tool, describe page one, and generate. If the result looks close enough, it becomes the final illustration. If it does not, the author regenerates and tries again, often several times, before moving to page two and repeating the whole cycle.
This works, eventually. But it skips a step that film, animation, and professional picture book studios have relied on for decades: planning the visuals loosely before committing to finished art. Before real budget and time go into a final illustration, someone sketches the sequence roughly, checks whether the story reads well page to page, and only then commits to the expensive, detailed version. FableKit's storyboard editor is built around the same idea, adapted for an author working alone with AI generation instead of a full production team.
This guide walks through how that actually works inside FableKit today: laying out pages and spreads, using the sketch step to plan a scene before generating a final illustration, and the page-level decisions, text formatting, bleed and trim for print, and color and font choices, that shape how a finished book actually looks.
Why plan before you generate the final art
In film and game production, a rough visual plan gets reviewed and changed constantly before a single finished shot exists, because a plan is cheap to change and a finished shot is not. Storyboarding guides for picture books describe the same review at the sketch stage: pacing, composition, page turns, and text placement all get checked before any finished art is painted, colored, or placed, specifically so problems get caught while they are still cheap to fix.
AI generation does not remove that dynamic. It just changes what "expensive" means. Instead of an illustrator's paid hours, the cost is the character-consistent, high-resolution generation you spend on your finished book, plus the time spent looking at a result that does not match what you pictured. A way to test composition and scene content cheaply before spending a "real" generation on it protects both.
Laying out pages and spreads
A FableKit project is an ordered list of pages, each typed as a front cover, filler, story page, back cover, or, for hardcover and softcover formats, a spine. You choose from several trim sizes, from small square board-book formats up to a full letter-size page, and from a handful of paper types, which together determine the book's physical page math and spine width.
Any story page can be turned into a two-page spread with a single toggle in the page header. When spread mode is on, the canvas doubles in width to show both facing pages at once, with a center seam line marking where the physical binding falls. This matters for composition: an illustration meant to read as one continuous scene across a spread needs its important content kept clear of that seam, the same rule print designers apply to any bound book. Switching a page in and out of spread mode is instant, so you can decide page by page whether a scene deserves the full two-page treatment or works better as a single page.
At the bottom of the editor, a filmstrip shows every page in the book in order, including a visibly narrow tile for the spine when one exists. It functions as navigation and a page-count overview rather than a live thumbnail preview of finished art, but it is where you get a feel for your book's overall rhythm: how many spreads you have used, where the spine sits, and how front matter, story pages, and the back cover are sequenced.
How does FableKit's sketch feature actually work?
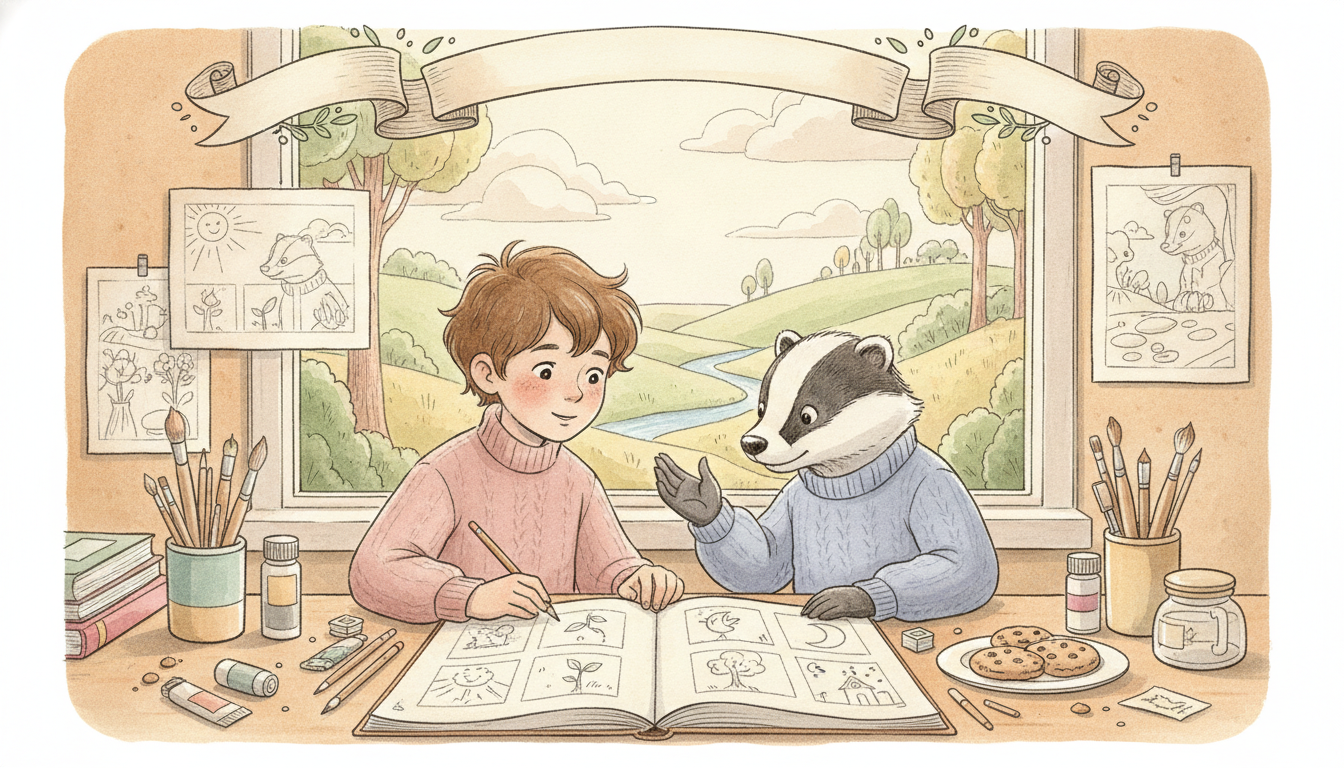
The sketch step generates a quick, rough, black-and-white pencil-style drawing from whatever text is already on the page, using Gemini's image model as the primary generator with an automatic fallback to a second provider if the first call fails. It costs you nothing against your paid image generation allowance, because it runs on a separate, free-tier connection specifically so you can sketch as many times as you want without touching your generation budget.
Generating a sketch only requires that the page already has text written on it. You do not need to select or design a character first, and no character reference is pulled into the sketch prompt at all, the sketch is generated purely from your page's own words. Once generated, the sketch sits in the same visual slot your final illustration will eventually occupy, so you can see it full-size on the canvas exactly where the finished art will go. Regenerating a sketch replaces it. There is no version history of earlier attempts, so a sketch you liked and then regenerated over is gone for good, which keeps the tool light and fast but is worth knowing before you hit "redo" a second time.
Does the sketch lock in a pose or composition for the final image?
No, the sketch is loose, text-driven inspiration, not a structural lock. It is generated from plain text alone, with no pose map, no depth map, and no image-to-image seed carried over from anything else, so nothing about its exact composition, character placement, or pose is enforced onto whatever final image you generate afterward.
That is a meaningful distinction if you have used AI image tools that support stricter structural controls elsewhere. Those controls extract a map from a reference image and force new generations to follow it closely. FableKit's sketch step is intentionally simpler: it is a fast way to see a rough version of a scene, decide whether the composition and content are right, and adjust your page text before you spend a full-quality generation on it. Think of it as a planning sketch you look at and react to, not a template the final art is forced to match pixel for pixel.
Can I turn a sketch directly into a finished illustration?
Not automatically, but there is a real hand-off between the two. Once you have a sketch you like, a "Generate prompt from this sketch" action sends the sketch image to a vision model, which writes a detailed text description of the scene and characters it sees. That description then carries you into Character Studio with the prompt field already filled in, ready to generate.
The final generation step still happens in Character Studio, manually, and that is also where character consistency actually gets enforced. Character Studio pulls your saved character reference images into the generation request and instructs the model to maintain the same face, hair, outfit, and proportions across every image, a mechanism the sketch step deliberately does not use. In short: the sketch plans the scene, the prompt hand-off saves you from re-describing it by hand, and Character Studio is where the finished, character-consistent illustration actually gets made.
Text formatting choices on the page
Every text block on a page carries its own formatting: font family and size, bold, italic, underline, and all-caps toggles, horizontal and vertical alignment, and one-click centering. You can rotate a block freely, which matters most for spine text, which conventionally reads bottom to top. Beyond the basics, each block also supports line height and letter spacing, padding, a choice of container shape, independent text and background colors with adjustable opacity, and an optional colored stroke around the text.
Font choice specifically is generous: dozens of typefaces are available, ranging from clean, readable sans-serif options to playful hand-lettered and display styles suited to a picture book's tone. There is no single "book font" you are locked into. A cover title, a whispered aside, and a page of straightforward story text can each use a completely different look if that is what the page calls for.
Bleed, trim, and margins for print
If you plan to print your book, bleed and trim are not optional details, they are the difference between a page that prints cleanly to the edge and one with a thin white gap where a background image was supposed to reach the paper's edge. The general print-industry convention is to extend any full-bleed image slightly past the trim line and keep essential text and faces clear of a safety margin near the edges and the spine, so nothing important gets trimmed off or lost in the binding.
FableKit shows a bleed and safe-margin guide directly on the canvas while you work, so you are not guessing where the trim line falls or eyeballing a margin from memory. Combined with the trim size and paper type you choose for the project, this means a page that looks right in the editor is built with print in mind from the first sketch, not fixed up after the fact in a separate layout tool.
Color and font choices
FableKit does not lock a project into a single predefined color palette. Color is a per-block decision, you set the text color and background color, with opacity, on each text block individually, alongside one project-wide default text color you can set once and reuse. Page templates for covers, front matter, story pages, and spines each come with their own sensible font, size, and color combinations pre-applied, which gives you a fast, coherent starting point, but every value on every template remains fully editable afterward.
This matters for picture books specifically, where color and type often need to shift with mood from page to page: a quiet bedtime spread and a loud, chaotic action spread rarely want the same palette or the same lettering weight, and a rigid single-palette system would fight against that.
A simple page-by-page workflow
Put together, a practical way to move through a book in FableKit looks like this. Write or import the page's text first, since the sketch step needs it. Generate a sketch and look at it full-size on the canvas where the final art will sit. If the composition or scene content is not right, revise the text and regenerate the sketch, at no cost to your image allowance. Once a sketch reads the way you want the final page to feel, use the prompt hand-off to carry that description into Character Studio, where you generate the real, character-consistent illustration. Then move to text formatting, checking the page against the bleed and safe-margin guide if you are printing, and decide whether the page deserves a two-page spread before moving on. Repeat per page, and the filmstrip at the bottom keeps you oriented on where you are in the book as a whole.
See the storyboard editor in FableKit if you want to work through a page this way yourself.
FAQ
Does generating a sketch cost anything against my image generation allowance?
No. Sketches run on a separate, free-tier connection specifically so you can sketch as many times as you want without touching the paid image generation cap that your final illustrations count against.
Do I need to design or select a character before I can generate a sketch?
No. Generating a sketch only requires that the page already has text written on it. No character selection happens at that step, and no character reference image is used in the sketch prompt.
What happens if I regenerate a sketch I already liked?
Regenerating replaces the existing sketch with the new one. There is currently no history of earlier sketch attempts, so if you liked a previous version, it is worth using the prompt hand-off on it before you generate again.
What book sizes and formats can I lay out in FableKit?
FableKit supports several trim sizes, from small square board-book formats up to a full letter-size page, across digital, softcover, and hardcover formats, with a handful of paper types that affect spine width for print.
Do I have to use a two-page spread for every page in my book?
No. Spread mode is a toggle you set individually on each story page, so you can mix single pages and two-page spreads throughout the same book depending on what each scene needs.
The bottom line
The gap between "I have a manuscript" and "I have a finished, illustrated book" is where most self-publishing children's book projects stall out, and skipping straight to final art on every page is a big part of why. A cheap, disposable planning step, one that costs nothing to redo and does not need a character locked in yet, gives you somewhere to work out pacing and composition before you spend real generation budget getting it wrong.
FableKit's storyboard editor builds that planning step directly into the same canvas your finished book will use, alongside the page-level tools, text formatting, bleed and trim guides, color and font choices, that turn a manuscript into a print-ready picture book. Start a project on FableKit to see the sketch-to-illustration workflow on your own story.